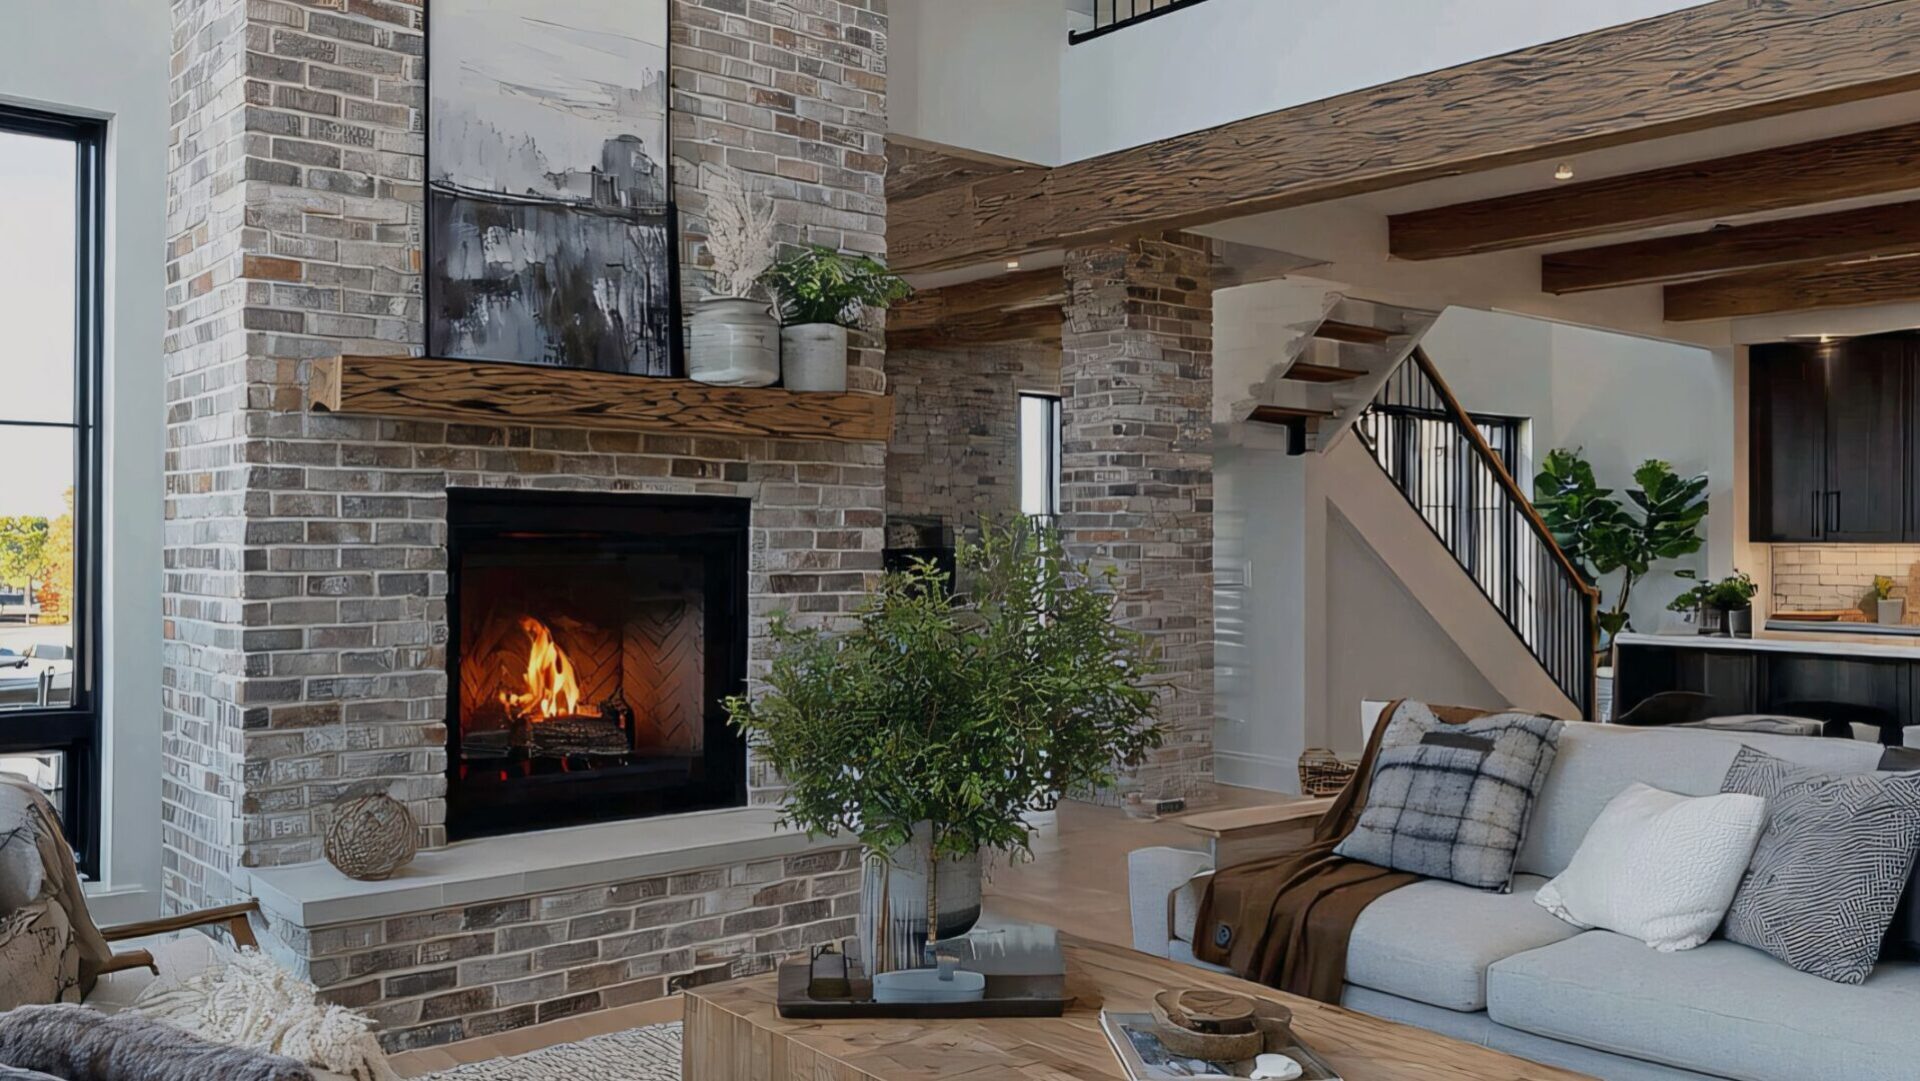
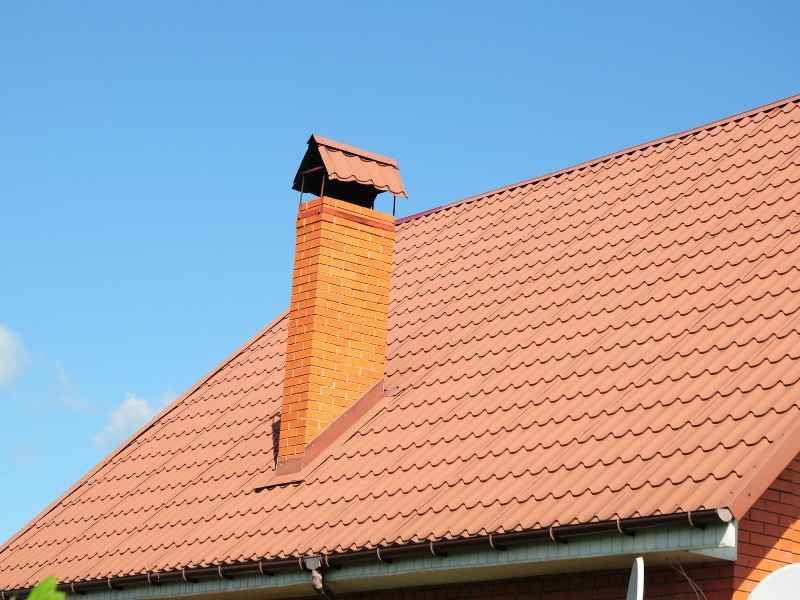
Planning chimney masonry alongside the roof changes keeps the stack safe, dry, and proportioned to the new house. A second-story addition or a steeper roof can transform a house. It can also leave the chimney looking stubby, sitting in a new valley, or leaking where it never leaked before. Most remodel plans focus on framing and shingles, and the chimney gets treated as an afterthought.
How Roofline Modifications Affect Existing Chimney Placement
A chimney is built for the roof it was designed with. Change that roof, and the chimney’s relationship to everything around it shifts. A stack that once sat near the ridge may end up mid-slope, or a chimney on an outside wall may suddenly pass through new attic space.
Additions create the biggest changes. A new second story can put walls, windows, or a higher roof right next to an existing chimney. Raising the pitch may bury part of the stack or push it into a valley where water collects.
Before design is final, have a mason inspect the chimney from top to bottom. Check the crown, mortar joints, brick condition, flue liner, and any signs of leaning or cracking. A chimney that needs repair anyway is easier to fix during the remodel than after.
Evaluating Chimney Masonry Height and Clearance Above the New Roof
Height rules exist to help chimneys draft properly and keep sparks away from the roof. Many codes based on the International Residential Code use a familiar standard for masonry chimneys: the top must sit at least 3 feet above where it passes through the roof and at least 2 feet higher than any part of the building within 10 feet. Local codes may differ, and factory-built chimneys follow the manufacturer’s instructions.
A taller roof or new addition can put the existing chimney out of compliance. Raising a roof by a few feet may mean the stack needs to grow by the same amount or more. Nearby walls or dormers within that 10-foot range can also force a taller chimney.
Draft matters beyond code. A chimney sitting low against a new taller wall may struggle to vent smoke properly. Talk with your mason and roofer early about where the new roof surfaces will sit.
Adjusting Chimney Masonry to Accommodate Roof Pitch Changes
When the roof changes, the chimney often needs to change too. Extending a chimney means adding courses of brick or stone above the existing stack. The new masonry should match the old as closely as possible in color, size, and mortar.
Extensions add weight. The existing chimney and its foundation need to handle that load, and the flue liner may need extending as well. Depending on the height and condition, a mason may recommend rebuilding the top section instead of stacking new brick on old.
Chimney masonry that passes through new attic or living space also needs proper clearance from framing. Combustible materials must stay a safe distance from the masonry, and code sets those distances. Your mason and framer should agree on the details before walls are closed in.
Brick masonry from decades ago can be hard to match. Sample several options outdoors and compare them in daylight. Mortar color and joint style matter as much as the brick itself.
Planning Flashing and Waterproofing at the Chimney-Roof Connection
The joint between chimney and roof is where most leaks start. A new roof pitch changes the angles, so the old flashing usually can’t be reused. New step flashing and counterflashing need to fit the new roof correctly.
Counterflashing is typically set into the mortar joints of the chimney, which means the mason and roofer have to coordinate. Cutting a clean groove or relaying a few courses gives the flashing a secure, watertight seat. Caulking over a poor connection rarely lasts.
Wide chimneys usually need a cricket behind them so water flows around instead of pooling against the brick. Many codes require one above a certain chimney width. A new roof pitch is the right time to add or rebuild it.
A new or extended chimney needs a solid crown that sheds water. A cracked or flat crown lets water into the masonry from the top. Pair a good crown with a chimney cap to keep rain and debris out of the flue.
Coordinating Chimney Masonry Work With Roofing Construction
Sequence matters on a roof remodel. Framing usually goes first, then masonry work on the chimney, then roofing and flashing. If the roofer finishes before the mason, someone ends up tearing into new shingles.
Agree on who handles each piece of the chimney-roof connection. Some roofers install all flashing, while others expect the mason to set counterflashing. Clear responsibilities prevent gaps that turn into leaks.
Weather protection matters during construction. An open chimney top or partly finished roof can let rain into the house and masonry. Cover openings at the end of each workday.
Before work begins, discuss these points with your mason and roofer:
- The new roof height and pitch near the chimney
- Required chimney height above the new roof
- Condition of the existing brick, crown, and flue liner
- Flashing, cricket, and counterflashing details
- Who installs each part and in what order
Frequently Asked Questions
Does raising my roof mean I need a taller chimney masonry?
Often, yes. Many codes require masonry chimneys to extend a certain height above the roof and nearby structures. A higher roof can put the existing chimney below that height. Your mason and building department can confirm what’s required.
Can new brick match my old chimney masonry?
A good match is usually possible with careful selection. Sample several bricks and mortar colors before choosing. Weathering makes old brick look different over time. New masonry often blends better after a few seasons outdoors.
Can the old flashing be reused after a roof change?
Usually not. New roof angles change how flashing needs to fit. Reusing old flashing often leads to leaks at the chimney-roof joint. Plan for new flashing and counterflashing with the new roof.
